Figuring him and I would spend a week or so playing around with it and breaking it after extreme use, we've been shocked at how amazing the little helicopter actually is. The helicopter is built extremely durable, will last ages, you can order and replace parts and is designed phenomenally for both enjoyment and practical helo-choppa aeronautical flight simulation! Hes been having a great time with it, but like with anything of the such I'd prefer a more "custom" paint job,and for my sons first Helicopter its a must. I'm a big history buff and with the love of all things miniature, and this is about 1:35 scale, I figured id do a miniature style flake rusted chipped camouflage affect, with German ww2 camo, and some bad ass decals:
Heres a Completed a completed Photo:

So lets begin an overview of the the "build":
Unlike with miniatures i build, and more in the fashion of cars: we do a tare down to get all the "to be sprayed" pieces from the helicopter, followed by making a "map" of all our screws.

Shes been primed:

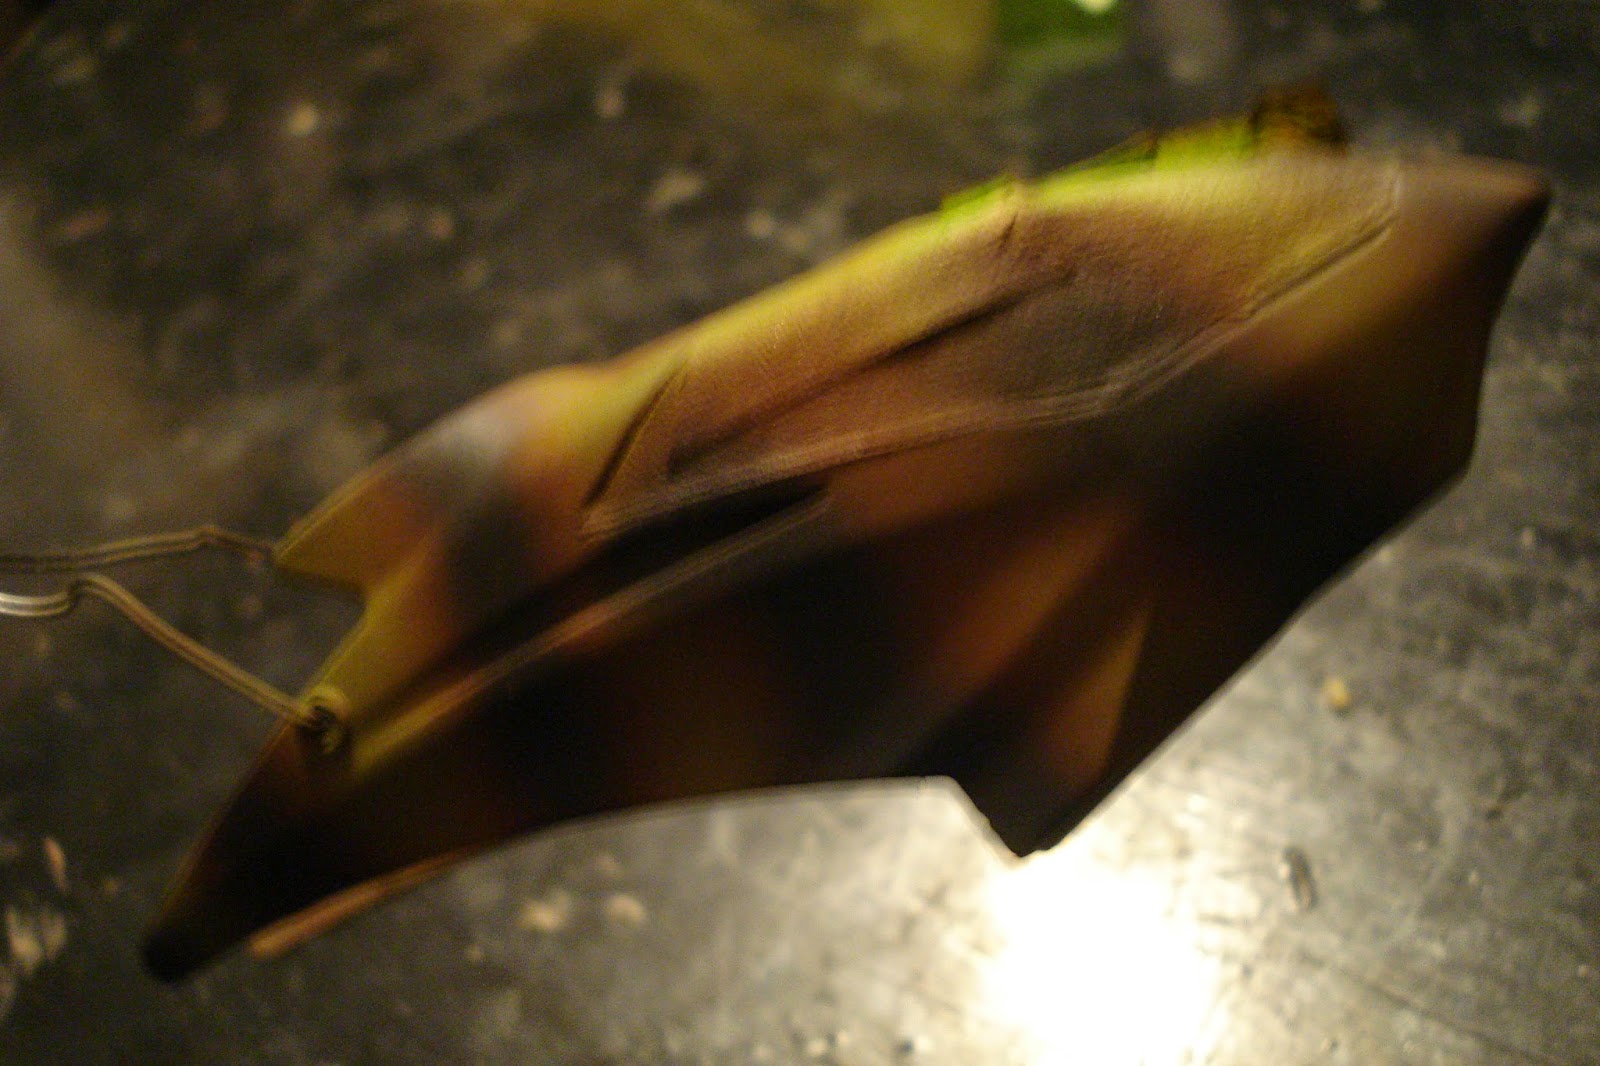
I taped (green painters tape, get it at hardware stores on the cheap) the cockpit out

Then the parts are sprayed a hashnut copper/mournfang brown, with mithril silvers sprayed in areas to give off the apearance of rusted metal.

we seal this layer with testers dullcoat, and then begin the German camouflage.

this technique ill explain in each step:
First spray the entire cockpit and tail rutter an wing, a dark green,

followed by stripes in mournfang brown,

then do the same affect but with black striping.

Now that its all painted were going to do our chipping affect then add the decals:

To achieve a solid chipping affect, you dul coat the first rusted layer, then paint over it, and then you use a wet piece of scrubby or tooth brush and scrape it to create the desired affect!

Silver and black paint added in areas to make it look even more battle damaged

Added a series of decals, As i decided to name it àir Wolf, Very germanic I mad eit a modern German attack drone

The beginning of the diagonal effect
this next part is the difficult stage, doing the honey comb diagonal effect which after I did it I hated the way it looked it did not achieve my desired affect, I`ll try this in the future but doing it in resverse! so the cockpit got a repaint.

Heres some of the decals and the helicopter is complete:


The 1`s all on the helicopter are for my sons first birthday, every year I want to buy him a new helicopter or airplane for his birthday and re paint them in a scheme he chooses!
Heres the final photos in my photo booth!


We did a test flight with my son, and nephew two weeks ago! both Adrian and Dante got to fly it! there was a concern that the weight of the paint and decals could affect its flight, this was not the case! Dante has since flown it everyday and its pain job has held up! bless the dul coats and varnish!
Any questions, comments, concerns, or Conversion/Painting inquiries email:
chimera-miniatures@hotmail.com
Thank-You
Tyler Read
No comments:
Post a Comment